-
Preparing the Area
Before beginning the installation process, it’s essential to ensure the area is cleared of debris and level. If necessary, use a shovel or rake to scrape off any grass or soil.
-
Placing the Foundation
Once you’ve cleared the area, you can begin laying down a sand foundation. This will ensure that your pavers are even and stable once laid down.
-
Installing Pavers
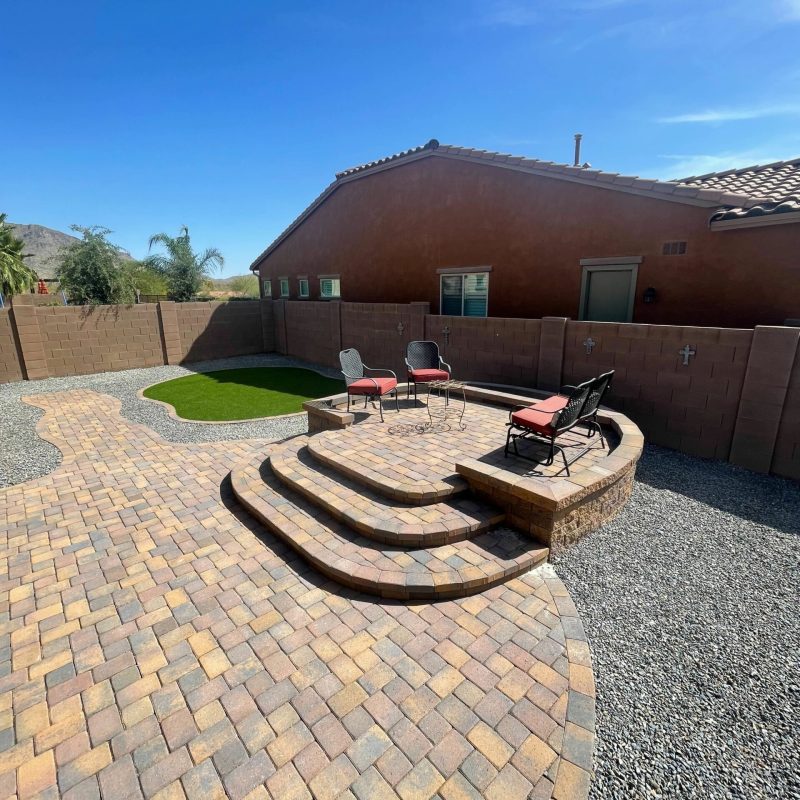
Line up the pavers in the design you’d like, beginning from one side and working towards the other. Be sure to leave space for sand or gravel between each paver to stabilize them.
-
Installing Edging
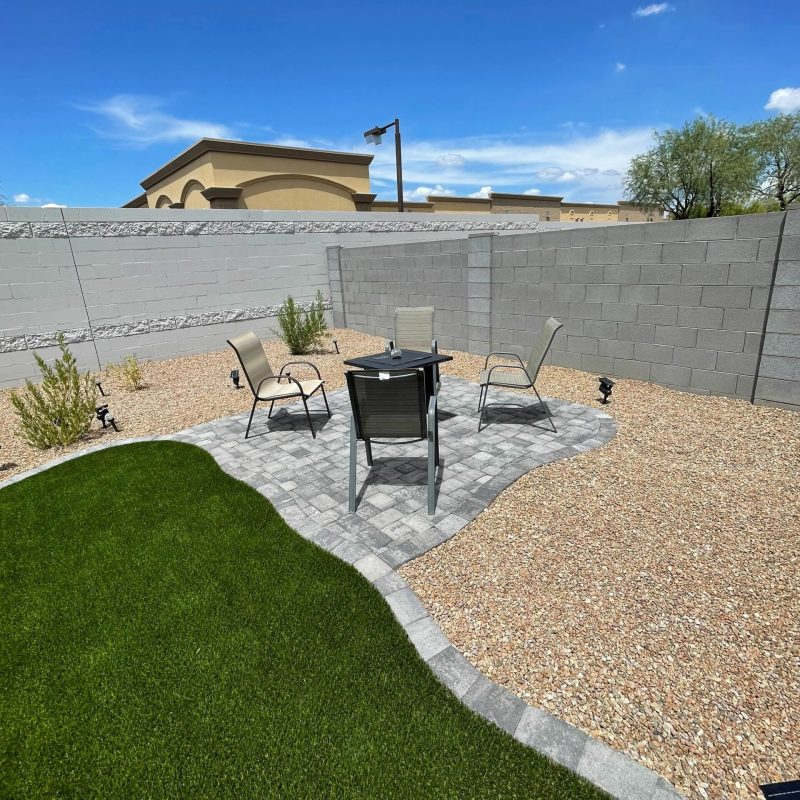
Once the pavers are laid down, installing an edging material is time. This will help keep the pavers secure and in place. You can use metal or plastic edging materials depending on your design and preferences.
-
Adding and Compacting Joint Sand
Once the edging is in place, spread and compact joint sand into the gaps between each paver to help keep them secure and reduce the chance of shifting or cracking over time.
-
Cleaning and Sealing
Once everything has been set in place, it’s time to clean the surface well and seal it with a waterproofing agent. This will help protect the pavers from weather damage and keep them looking beautiful for years.


